


We spend a lot of energy at Lincoln Loop to ensure that the tools we build for our clients are working as hard as possible for them. One thing that we consider is a thoughtfully-designed Open Graph meta tag system. When a reader shares blog posts or landing pages on social media, the preview image should draw in the target audience, convey the topic, and capture the brand identity. This image comes from the og:image tag in the head of your document. We could add a field for this image in our CMS and call it a day. But in practice, creating a custom graphic for each post is an unnecessary barrier for authors to publish. Ideally, we generate smart defaults with the data the author has already entered.
Before we begin, I’ll note that we’ve built this with Django, so this method can work with Wagtail, django CMS, or any other Django publishing platform. Here’s the overview:
- Build and export an SVG using Figma or Illustrator
- Incorporate the SVG into your app
- Read the compiled SVG on the backend and convert it to a PNG
- Use the new PNG in the og:image tag
Build and export an SVG using Figma or Illustrator
Starting this process with a proper design tool allows you to forget about the code and focus on design. Start with a 1200x628px canvas, and be generous with the headline size. I found that setting the font size at 80px and allowing space for up to three lines was the sweet spot between “make it big” and “allow for longer headlines.”
For the recent lincolnloop.com redesign, we used round images, some background flourishes, and a system font stack, so I wanted to keep as much of that brand identity as possible in these images. Here’s the result in Figma:
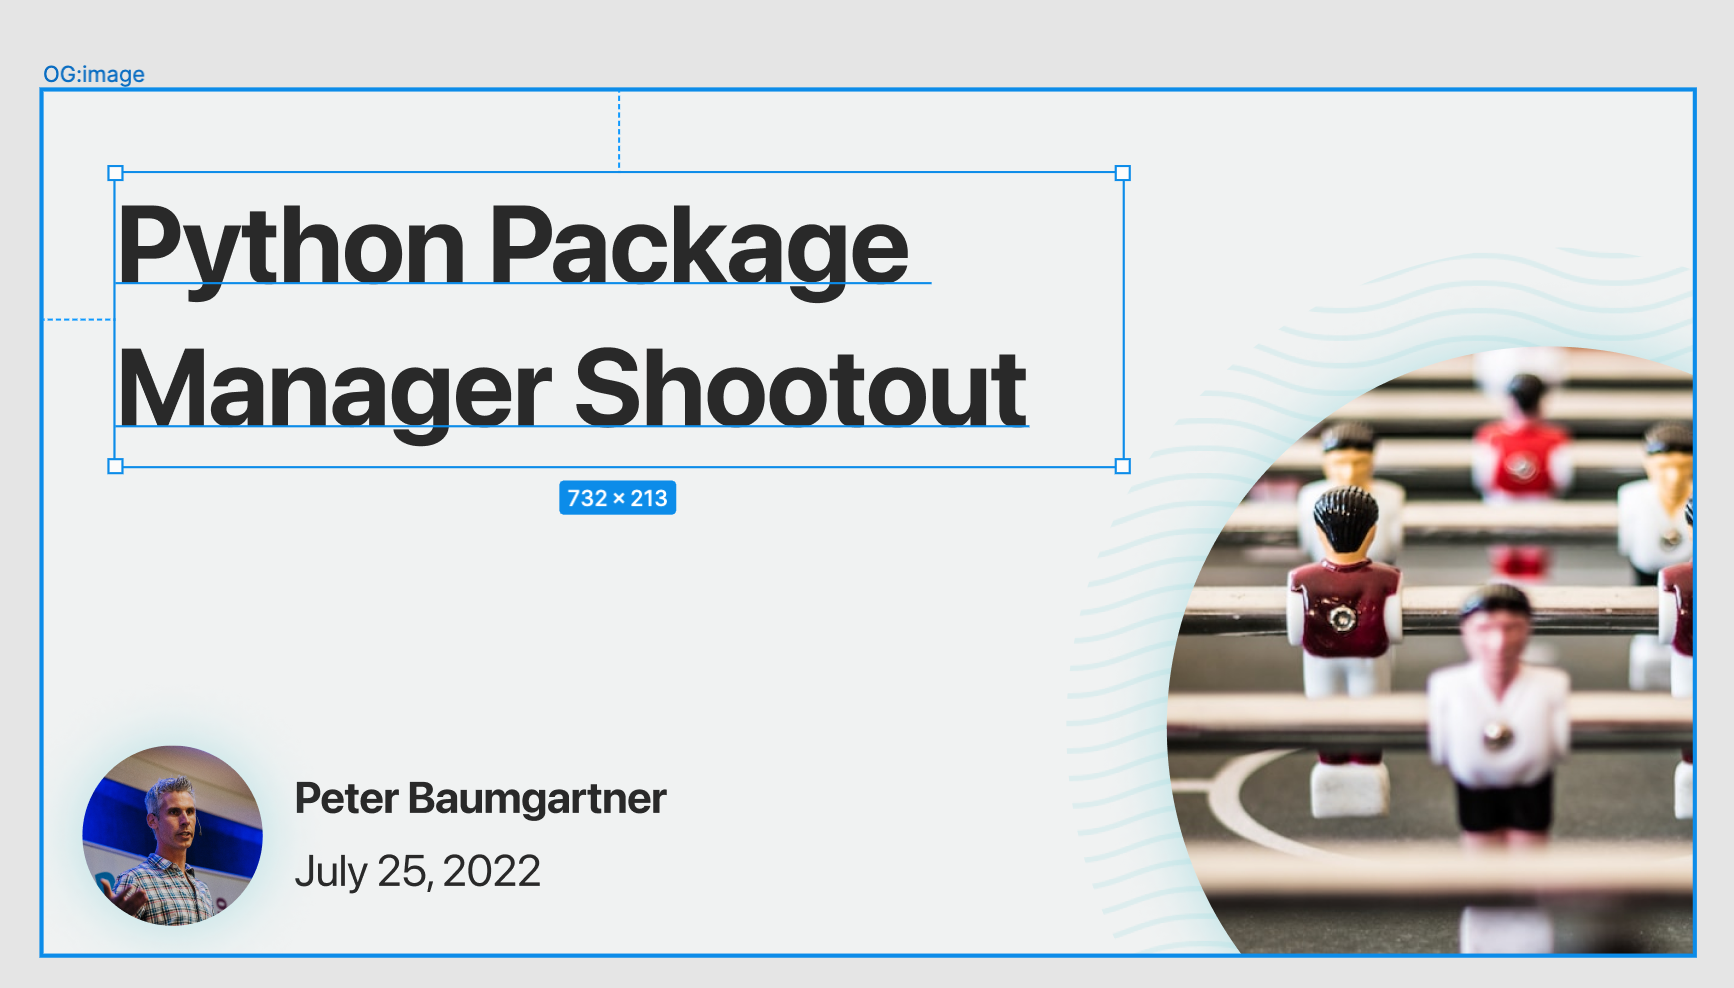
Once you’ve completed the design, export the frame as an SVG. In the export settings, uncheck “Outline Text.”
Incorporate the SVG into your app
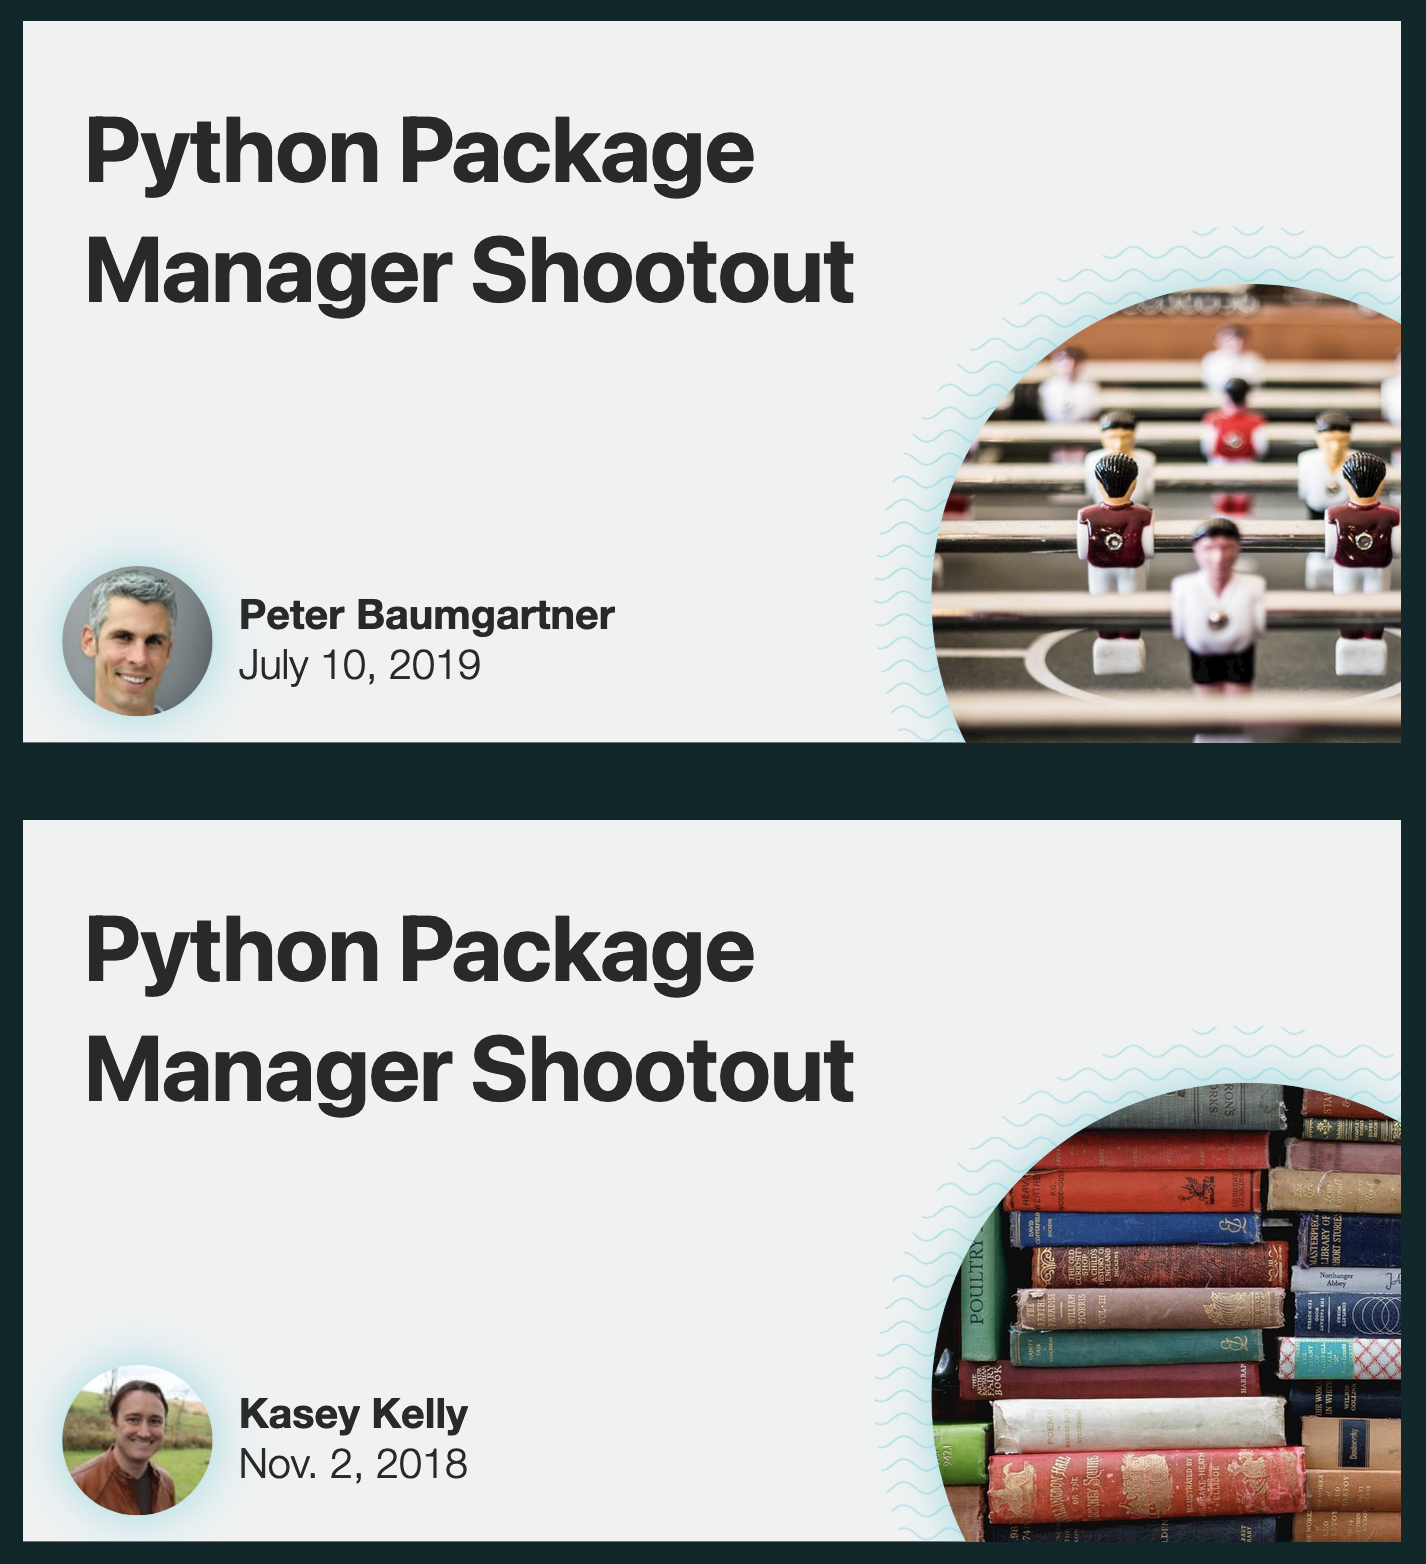
Once the SVG is ready, it will take some massaging to get the data in place. The best way to do this is to paste the SVG into a Django template component and include it on your blog index page alongside the existing article previews. This allows you to see multiple variations of the SVG on the same page to help with the debugging process. Temporarily remove the post preview to get a list of SVGs. For our site, that looks like this:
{% for post in object_list %}
   {# {% include "blog/includes/post-preview.html" %} #}
   {% include "blog/og-image.html" %}
{% endfor %}
Now let’s begin incorporating the data using template tags. We’ll start with the easy wins, as the author and date will never break into multiple lines. Search for the text in the SVG, and adjust the formatting to make it easier to find later. This:
<tspan x="183" y="577.875">July 25, 2022</tspan>
<tspan x="183" y="524.875">Peter Baumgartner</tspan>
Will become:
<tspan x="183" y="577.875">{{ object.publish|date:"N j, Y" }}</tspan>
<tspan x="183" y="524.875">{{ object.author.get_full_name }}</tspan>
Next, we’ll replace the images. Figma doesn’t have the option of exporting images as linked files, so you likely have a long string of base64 encoded data. (Illustrator allows more control with their SVG exporting, so this step is a little easier there.) To find the beginning, search your document for xlink:href="data:image/. Remove everything in the value of that tag, and replace it with an appropriately-size thumbnail for your image. It’s also a good idea to wrap this in a conditional if your image isn’t a required field. For example:
<image id="l" width="200" height="40" xlink:href="data:image/png;base64,iVN…" />
Will become:
{% thumbnail object.author.team_profile.mugshot 100x100 crop as mug_thumb %}
{% if mug_thumb %}
   <image width="131" height="131" transform="translate(34.064 474.5)"
     xlink:href="{{ mug_thumb.url }}"/>
{% endif %}
I’ve repeated the process for both the avatar and the featured image. So far, so good!
Finally, we’ll include the post title. This gets tricky because SVG is an image format, not a document format, so it doesn’t support wrapping text. If you look at the code that Figma exported, it broke our headline into multiple <tspan> nodes:
<text class="text">
   <tspan x="54" y="120">Python Package</tspan>
   <tspan x="54" y="210">Manager Shootout</tspan>
 </text>
We’ll need to mimic this Figma export voodoo in our SVG. The built-in math filters in the Django templating system (plus a small custom multiply filter) will help us out. I’ll break it down below, but here’s the final code:
<!-- “y_start=120” here is value of the first tspan, taken from the Figma export. -->
<!-- “wordwrap:20” is the maximum number of characters before a line break. -->
{% with y_start=120 title_lines=object.title|wordwrap:20 %}
   <text class="text">
     <!-- The .splitlines python function turns our wrapped title into an array. -->
     {% for line in title_lines.splitlines %}
       <!-- multiply is a small custom template filter, and 90 is the difference
           between  210 and 120 from the original SVG. -->
       {% with multiplier=forloop.counter0|multiply:90 %}
       <tspan x="54" y="{{ y_start|add:multiplier }}">{{ line }}</tspan>
       {% endwith %}
     {% endfor %}
   </text>
 {% endwith %}
-
In a
{% with %}tag, inject the title tag andwordwrapfilter, providing the maximum character count. Here, “Python Package Manager Shootout” would then print like this:Manager Shootout``` -
Next, we’ll need to split that string into an array with the python
splitlinesfunction. So now the data looks like this:['Python Package', 'Manager Shootout'] -
Finally, we’ll loop over the array and adjust the vertical positioning on each line with addition, starting with the
y=value of the first line. Include the initialyvalue in they_startvariable in your{% with %}tag. For each item in the array, include a{% with %}tag to multiply theyvalue. Themultiplyvalue is the difference between the first and second lines from the static code. This ensures equal spacing between the generated lines. Note thatmultiplyis a small custom template filter defined in autils/tags.pyfile:
@register.filter()
def multiply(value, arg):
    return int(value) * int(arg)
At this point, it’s possible to go crazy customizing this. For example, you could add custom icons for particular blog categories or adjust the layout if no featured_image exists. Or you could center the headline vertically by changing the y_start value based on the number of lines in the array. You’re only limited by what you can do with Django templates… which is a lot. Alas, because every project has a budget, I’m happy with these results:

Now that we’re happy with the design, we can revert the changes to the blog index page and save the SVG template for the next step.
Read the compiled SVG on the backend and convert it to a PNG
It’d be nice to use SVGs in og:image tags, but we need to convert them to a raster image format. To achieve this, we’ll use the cairosvg package to render the SVG as a PNG. First, add cairosvg to your requirements file, then include the necessary imports to the relevant models.py file:
import io
import cairosvg

from django.template.loader import render_to_string
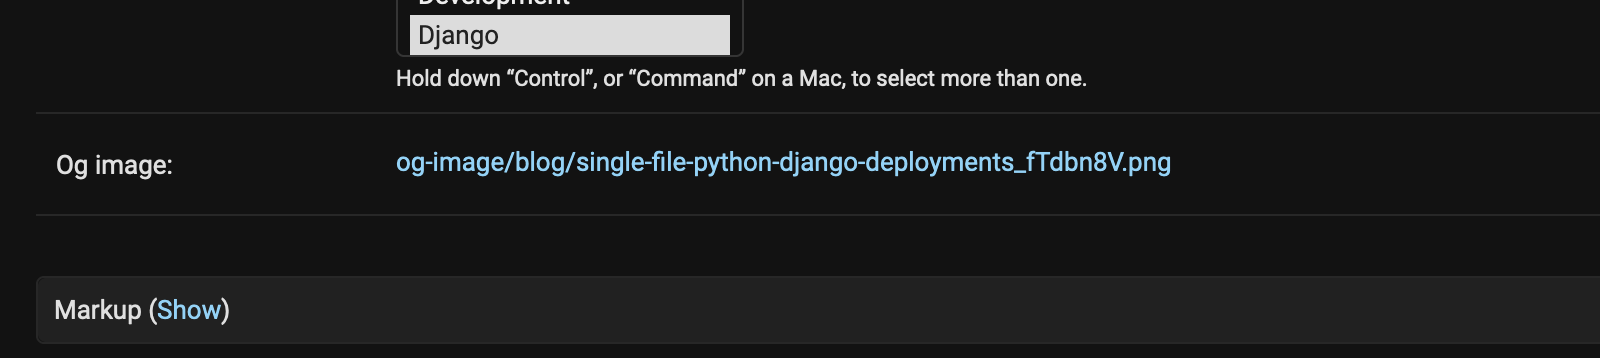
Add a field to your model for the generated PNG file. It’s a good idea to make this a read_only field in admin.py because we’ll re-generate this file every time an author saves a post.
og_image = models.FileField(upload_to="og-image/blog", blank=True)
Create a function that writes the SVG to a string based on the template:
def generate_og_image_svg(self) -> str:
   """Generate the SVG for the Open Graph image as a string"""
   return render_to_string("blog/og-image.html", {"object": self})
Then pass that string to cairosvg to convert it to a PNG, and save it.
def write_og_image(self) -> None:
       """Write the Open Graph image to the storage as a PNG"""
       png_filelike = io.BytesIO()
       cairosvg.svg2png(
           bytestring=self.generate_og_image_svg().encode(), write_to=png_filelike
       )
       png_filelike.seek(0)
       self.og_image.save(f"{self.slug}.png", png_filelike, save=False)
Finally, fire that function inside the save function so that it runs on every Publish.
def save(self, *args, **kwargs):
    self.write_og_image()
Use the new PNG in the og:image tag
To test your work, publish a change to the model in Django. It works! …almost.

Taking a look at the image, we’re not quite out of the weeds yet. That font is not what I specified. I also notice that the box-shadow filters that I included in the SVG aren’t being rendered around the images. That appears to be a limitation with the cairosvg package. I can live with that, but this font makes me sad. The reason for this is that the system fonts shipped with Linux, at least as far as this Docker container is concerned, are pretty limited. Cairosvg also doesn’t like embedded fonts within SVGs, so that option is out. What does work is installing system fonts within the Docker container. Linux will pick up fonts at /usr/share/fonts/ or ~/.local/share/fonts/. Our site is hosted on AWS using Heroku buildpacks (thanks to AppPack), so all we needed was to include our font files in our repository at .local/share/fonts.
I’m partial to SF Pro, which is the Apple system font. While it’s fine to include that in a system-ui font stack on the web, the licensing of SF Pro is such that we’re not allowed to include it as a web font. “Inter” is a nice alternative. I downloaded the TTF files from Google Fonts, and included them in my repo at .local/share/fonts/Inter-SemiBold.ttf and .local/share/fonts/Inter-Regular.ttf. With that, Linux knows where to find them. After I changed the font stack in the SVG to match, the PNG looks much nicer.

Now, we need to add the og:image tag to the post.html template, with a fallback for posts that don’t have the new image yet:
<meta property="og:image" content="{% if post.og_image %}{{ post.og_image.url }}{% else %}https://lincolnloop.com/assets/img/ll-social.png{% endif %}" />
Wrap it up
This may seem like a lot of effort for something small, but as a publisher, it feels a bit magical to see your preview card appear on social media. An open graph image will draw more readers and reinforce your brand, so this attention to detail is well worth the effort.